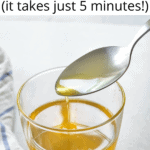
Clarified butter is super easy to make at home, it will take you just 5 minutes! It’s perfect for frying and doesn’t turn rancid so quickly. I especially love cooking any kind of pancakes and crepes with it. They taste so much better than those cooked with vegetable oil. I use clarified butter in my kitchen all the time.
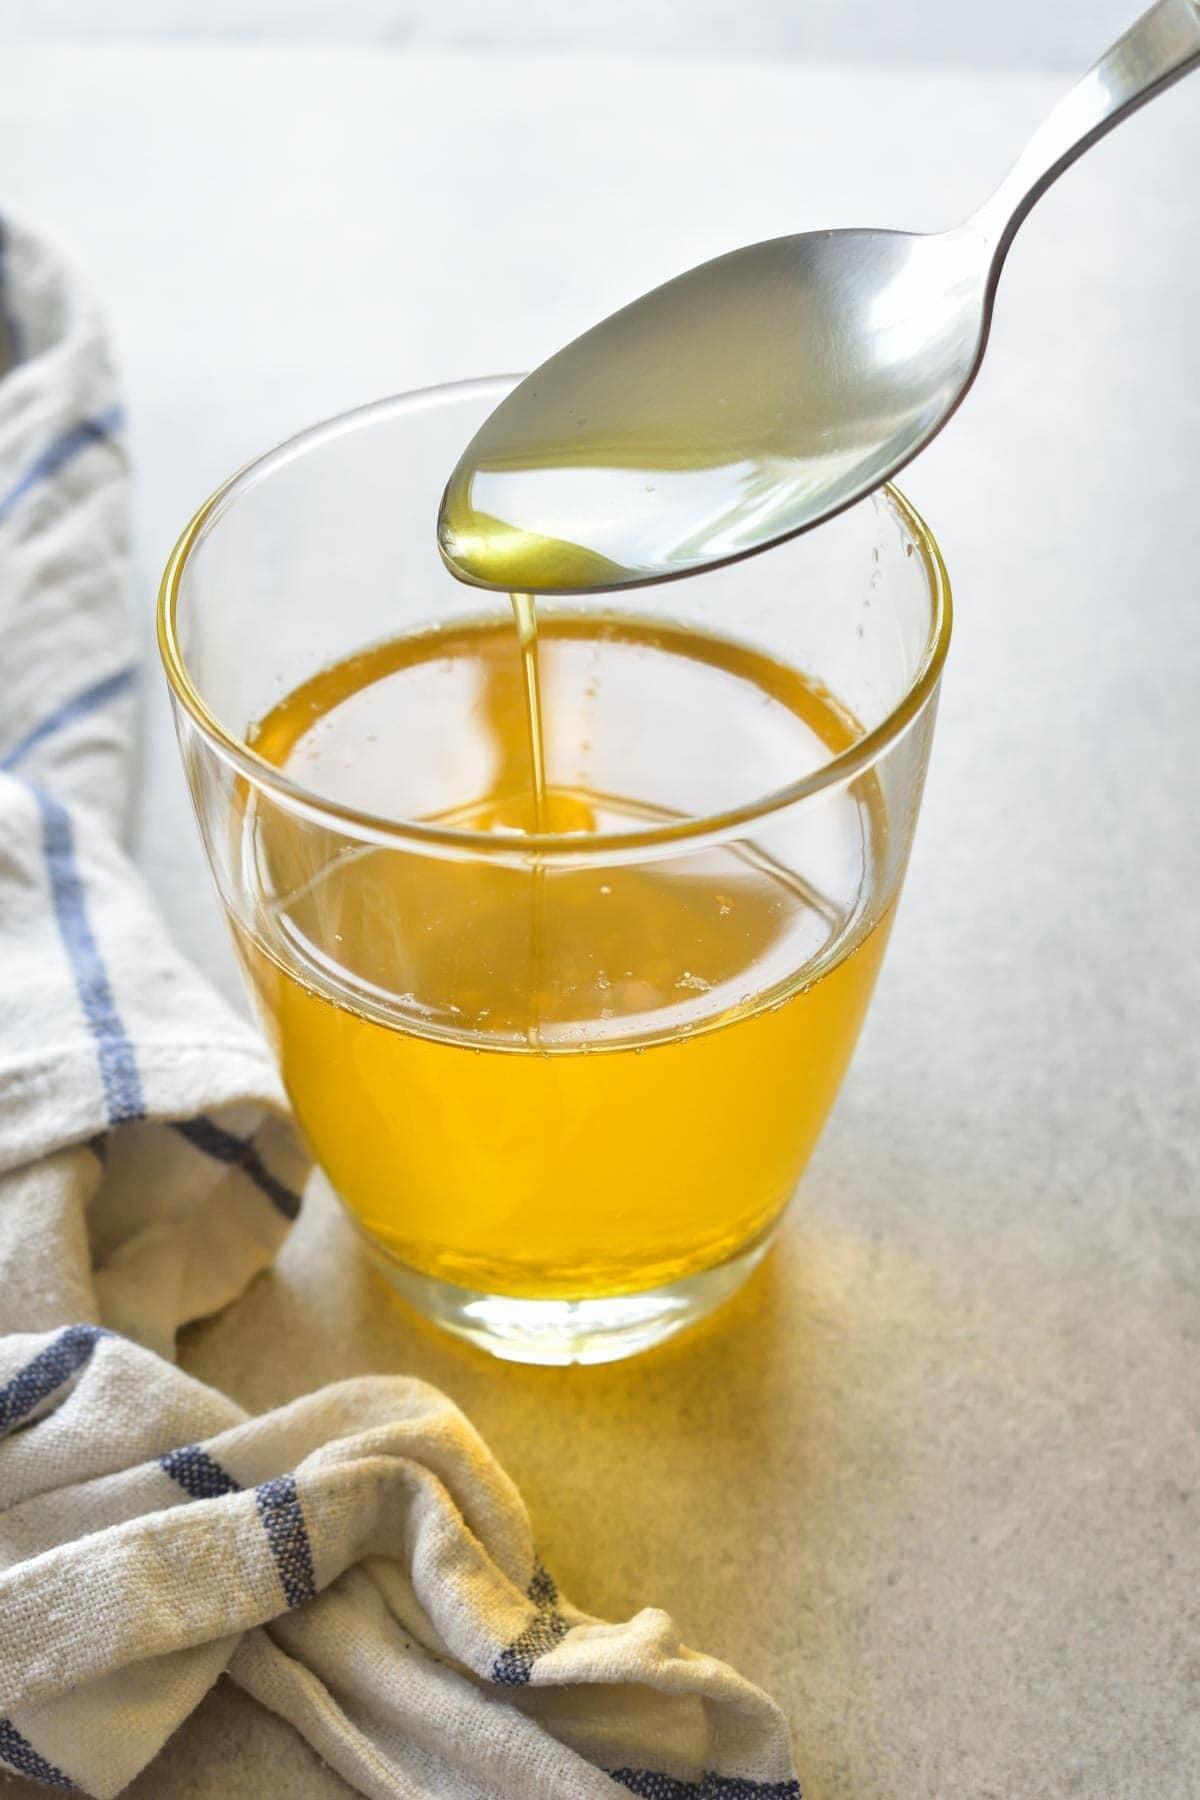
What is clarified butter?
Butter is not 100% fat. It’s about 80% fat and 20% water and milk solids (proteins). Clarified butter is butter that contains pure butterfat without any milk proteins or water.
The process of clarifying butter means to separate pure butterfat from milk solids (proteins) and water. To clarify the butter you need to skim off butter solids and the water must evaporate. Clarified butter is what is left.
Clarified butter doesn’t taste exactly that good like pure butter but has a higher smoking point, which means that it can be used for frying, and doesn’t turn rancid so quickly.
How to make it step by step:
What you’ll need: you’ll need butter (the amount of your choice), a small saucepan, and a fine-mesh strainer or a spoon.
What kind of butter is best: Use best-quality you can find unsalted butter. Low-quality (cheap) butter will also work but it usually contains more water (so you’ll get less clarified butter) and sometimes some additional chemicals. The best is European-style butter with 82% fat.
What pot is best: It’s best to use heavy-bottomed saucepan – less risky that the butter will burn or melt too fast.
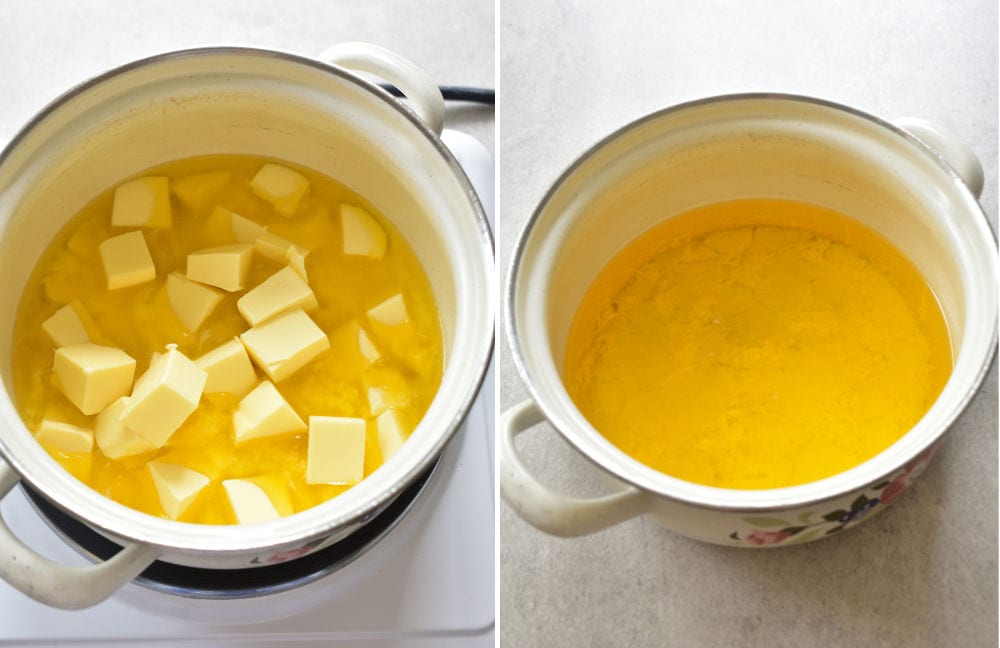
Cut the butter into cubes and add into a medium pot (you can also use whole sticks of butter but it will just take longer to melt them). Heat it over low heat and let it melt slowly. Don’t let the butter boil (I will be just harder to skim off the milk solids as they will dispense throughout the butter).
When melted take the pot off the heat. Clarified butter should be at the top and the milk solids should gather at the bottom of the pot.
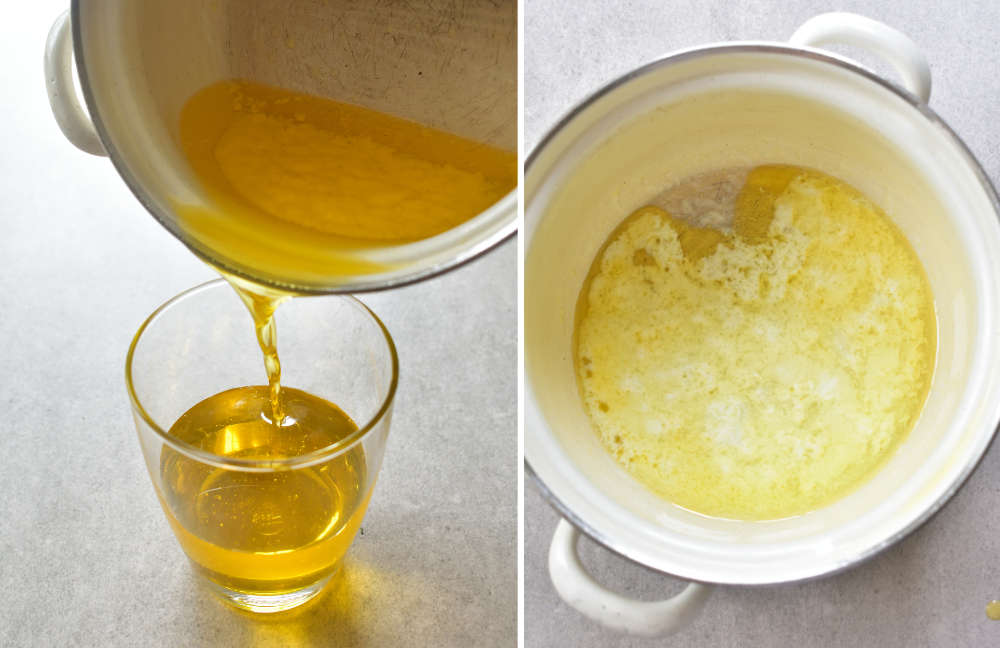
Pour the clarified butter into a clean container. Leave the milk solids in the pot. You can discard them or add them to some roasted vegetables for more flavor.
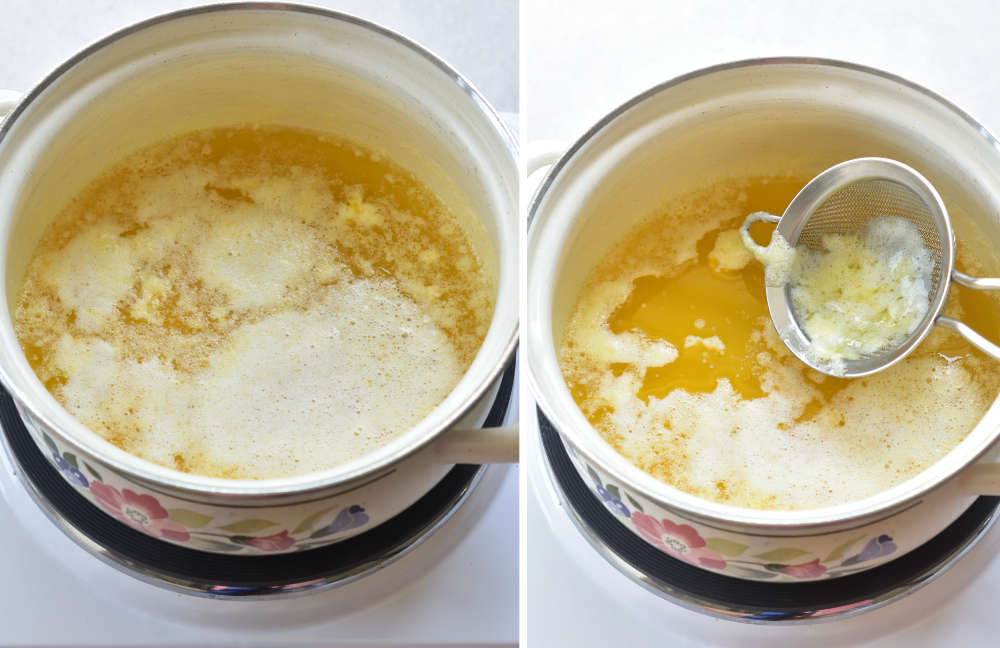
Sometimes the milk solids stay on the surface of the butter – this is also ok. If that is the case, skin them off using a small fine-mesh strainer or a spoon.
The clarified butter is ready to use!
How to use clarified butter:
You can use clarified butter the same way you would use regular butter, but I’ve found it’s expecially good for:
- cooking all kinds of pancakes and crepes
- cooking all kinds of vegetable fritters (like Chicken fritters, Sweet potato zucchini fritters, Cheesy zucchini and corn fritters, Potato Pancakes)
- cooking all kinds of meat and cutlets
- cooking fish
- caramelizing the onions for French onion soup or this puff pastry onion tart
- cooking vegetables.
Storage:
Store the butter in the fridge, in a closed, clean container, for about 3 months. Clarified butter can also be stored outside of the refrigerator, as long as there are no milk solids left in the butter. I stored store-bought clarified butter outside of the refrigerator for a couple of months with no problems. I like to store homemade clarified butter in the fridge since you can’t be 100% sure that you’ve removed all the water and proteins from the butter and it won’t go bad (they can promote bacteria growth which can spoil the butter).
Clarified butter can also be frozen, just as regular butter.
FAQ:
No, clarified butter is not exactly the same product as ghee. There are a couple of small differences between them. Ghee is a clarified butter that has been cooked for a longer period of time in order to remove all the moisture, the milk solids are browned and only then skimmed off. Thanks to this, ghee has a more complex, nutty flavor. Ghee is traditional ingredient of Indian cuisine.
No, use unsalted butter. The salty flavor will be concentrated when the butter is reduced.
Butter contains milk solids that can burn quickly when you cook something for a longer period of time or over medium/high heat. Clarified butter doesn’t contain milk solids so it doesn’t burn so quickly.
How to make clarified butter
Ingredients
- 1 cup (230g) unsalted butter
Would you like to save this?
Instructions
- Cut the butter into cubes and add into a medium pot (you can also use whole sticks of butter but it will just take longer to melt them). Heat it over low heat and let it melt slowly. Don’t let the butter boil (I will be just harder to skim off the milk solids as they will dispense throughout the butter).
- When the butter is melted take the pot off the heat. Clarified butter should be at the top and the milk solids should gather at the bottom of the pot. Pour the clarified butter into a clean container, leaving the milk solids at the bottom of the pot (you can discard them). Sometimes the milk solids stay on the surface of the butter, instead of at the bottom – this is also ok. If that is the case, skim them off using a small fine-mesh strainer or a spoon.
- The clarified butter is ready to use!
Notes
- What butter is best: use the best-quality butter you can find, preferably with 82% fat. It should be unsalted butter.
- From 1 cup (230g) butter you’ll get about 170-190g clarified butter.
- Store the butter in the fridge in a tightly-closed container for up to 3 months.
Did you make this recipe? RATE THE RECIPE or tell me in the COMMENTS how you liked it! You can also add a photo of your dish. It would make me very happy and will help other readers. Thank you!!


No Comments